Outlook Express 5.0/6.0 Setup
These instruction will walk you through adding your email account to Outlook Express 5.0/6.0
Set display name for outgoing email messages.
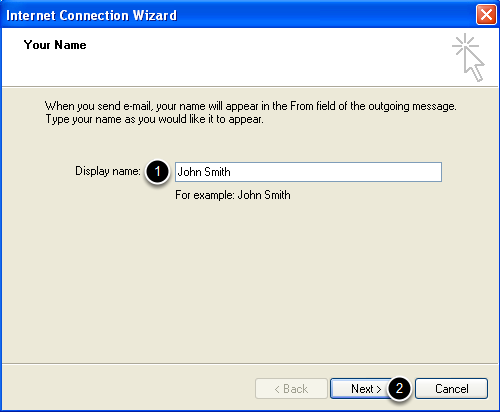
Enter a name (vanity) that you’d like displayed on your outbound email messages. Then click “Next”
Enter you email address
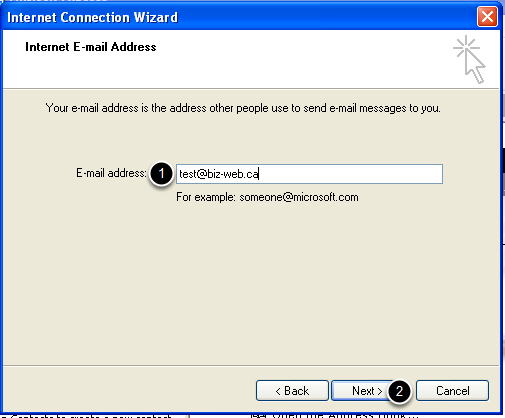
Enter your email address. Then click “Next”.
Enter incoming and outgoing email servers
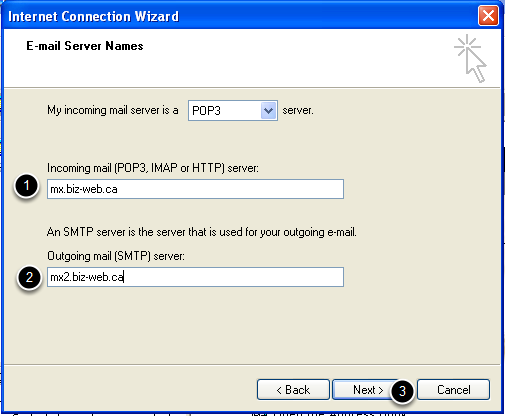
All domains that are hosted with us should use mx.biz-web.ca as the incoming mail server and mx2.biz-web.ca as the outgoing email server. Then click “Next”.
Enter Account name and password.
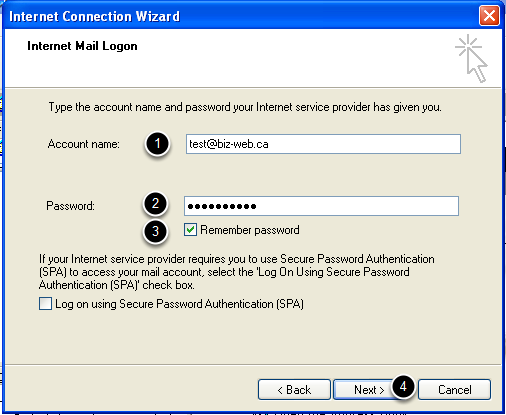
Enter your full email address as your Account Name. Optionally you can enter your email address password and have Outlook remember it. If you wish to have Outlook prompt you for your password everytime you start Outlook, skip item 3. Then click “Next”.
Goto Tools –> Accounts.
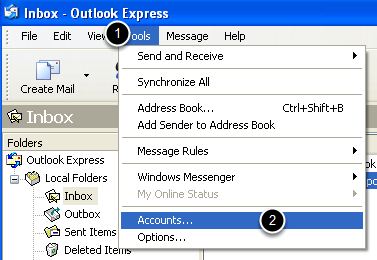
Open the Tools menu and select Accounts.
Select your email account.
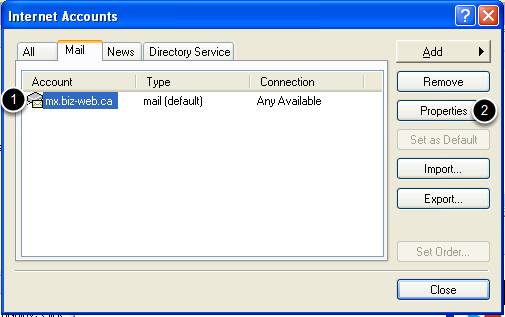
Highlight the account you just added and click “Properties”.
Server Settings

Select the “Server” tab. Check off “My server requires authentiction. The click “Settings”.
Use default option
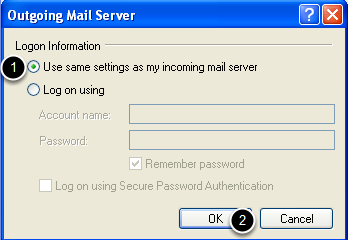
Verify that the login information is configured to the default of “Use same settings as my incoming mail server”. Then click “OK”.
Configure Advanced Settings.

Select “Advanced” tab. Check off both of the “This server requires a secure connection (SSL)” options. Set the Outgoing mail (SMTP) to 587 and Incoming mail (POP3) to 995. Then click “Apply”.
You’ve now successfully configured your email account for our service.